Showing posts with label Happy Birthday. Show all posts

Sunday, 4 June 2017

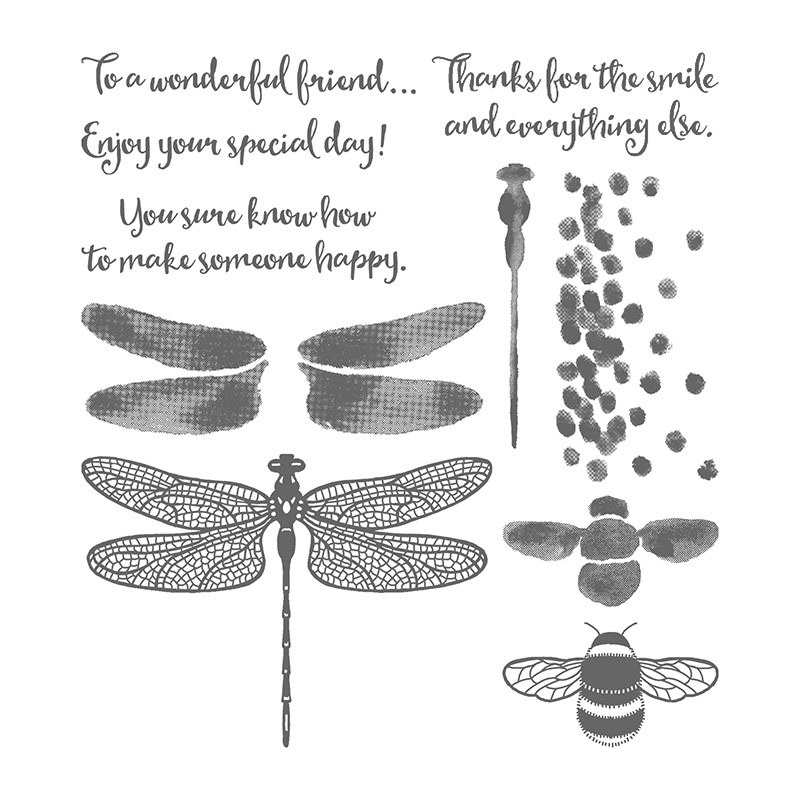
Dragon Fly Dreams Card - with Stampin Up Watercolour Pencils

So, it was the massive Stampin' Up! annual catalogue launch last Thursday.  One can only imagine tens of thousands of orders pouring in on one single day, including mine.  No joke.


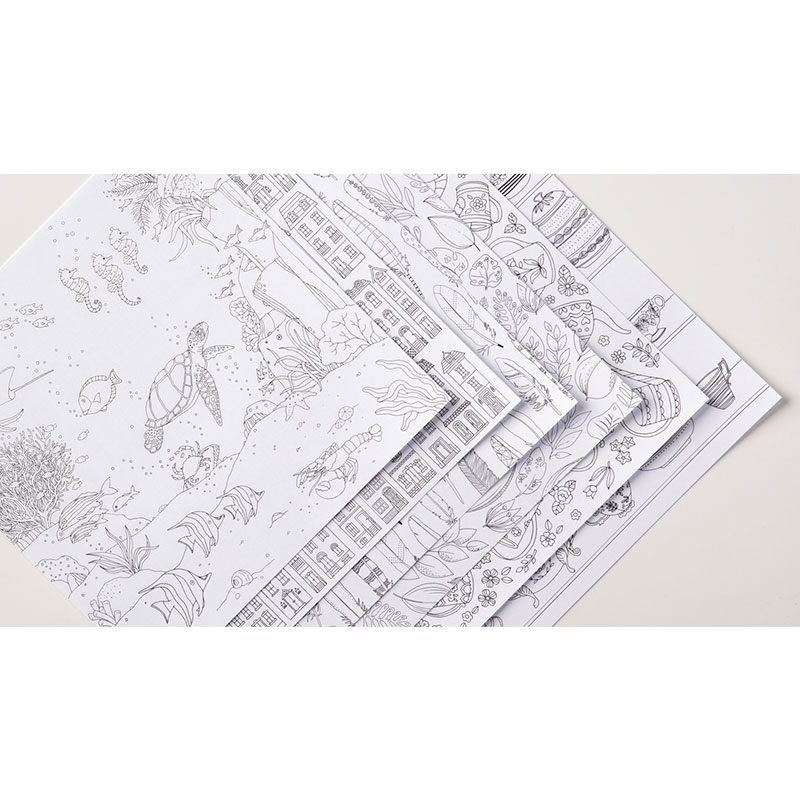
Whilst I  wonder when my first order is gonna come, I flip through my stash of numerous unused papers, stamps and dies, and begin to use the watercolour pencils on the designer paper "Inside the Lines" (the one with flowers, dragonflies and bees).  It came surprisingly well. So I put some papers together and made a card out of it.

Again, surprisingly the detestable Hello Honey (oops did I just say that) go so well with the Blackberry Bliss.  It just goes to prove that no colour is unusable, even the undelightful Delightful Dijon, which I happen to have as well.  


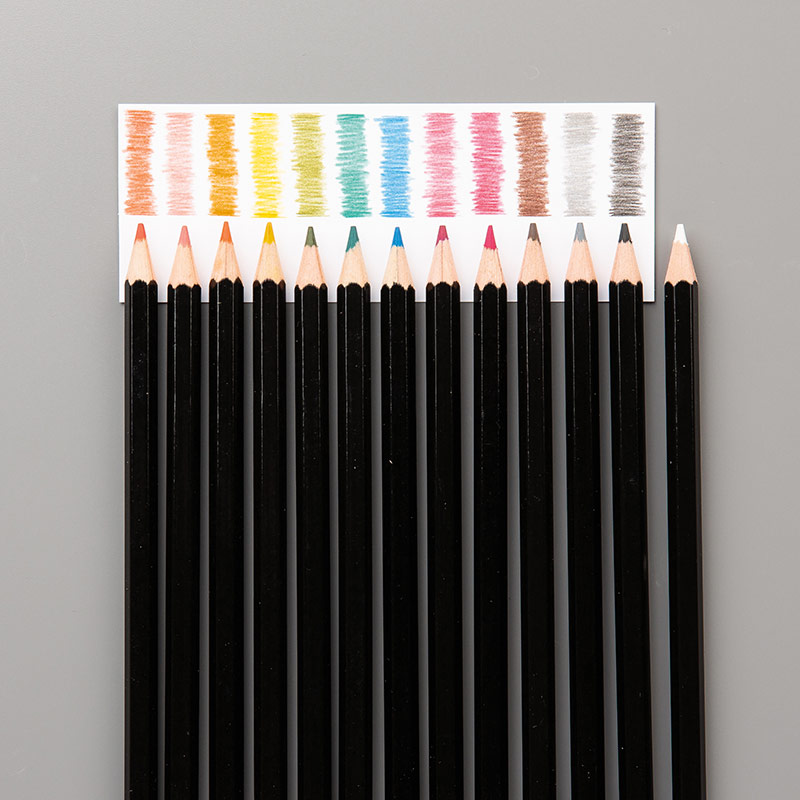
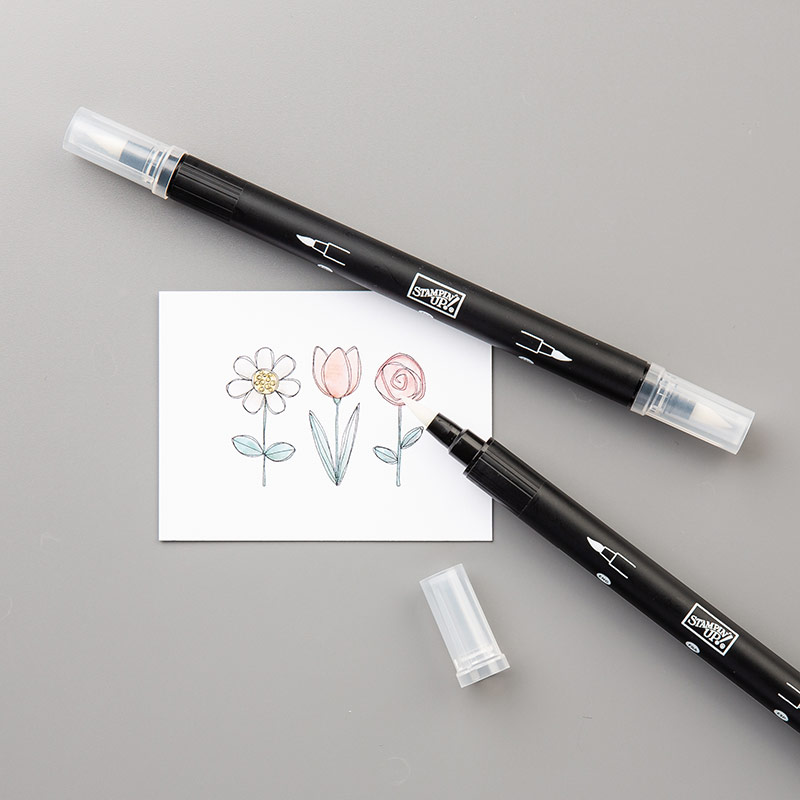
The star of the card is without doubt the watercolour pencils. They came in 13 vibrant pencils and I chose Rich Razzleberry, Old Olive and the lovely Daffodil Delight.  With the help of the Blending Pens all of a sudden the colours come alive and you get a beautiful result.

I suggest everyone should have a set of the watercolour pencils.  They are so easy to apply, work absolute magic and are only $27.75!  And of course you'll need the high quality Specialty Designer Series Paper like these.  The images match the current stamps and makes it simple to match and look professional with your projects.


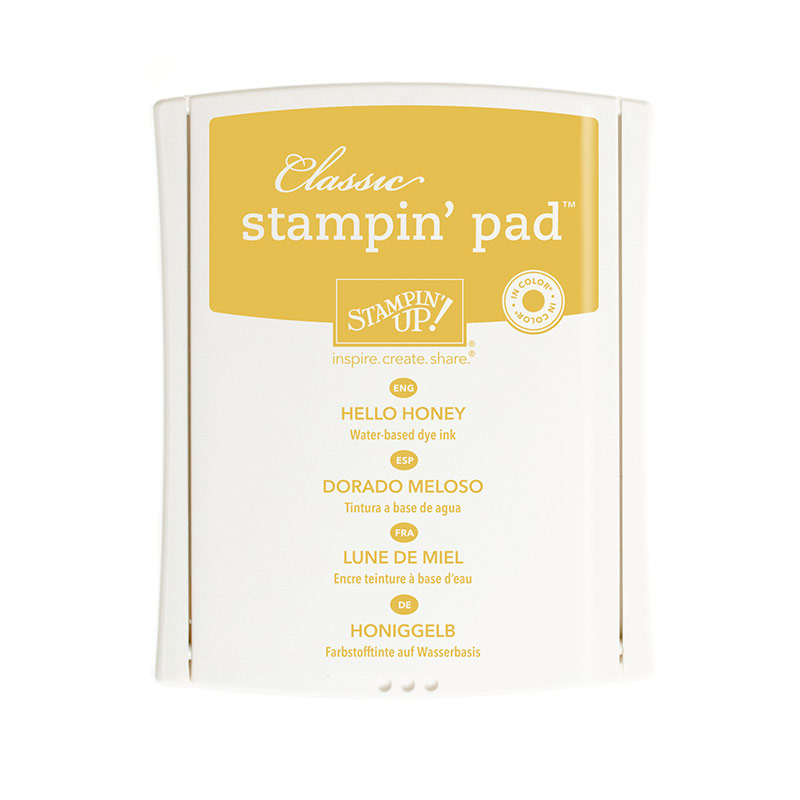
And yes the Hello Honey ink pad is on clearance price at $4.6 (RRP $11.5) until sold out. That's the colour I used on both bees.


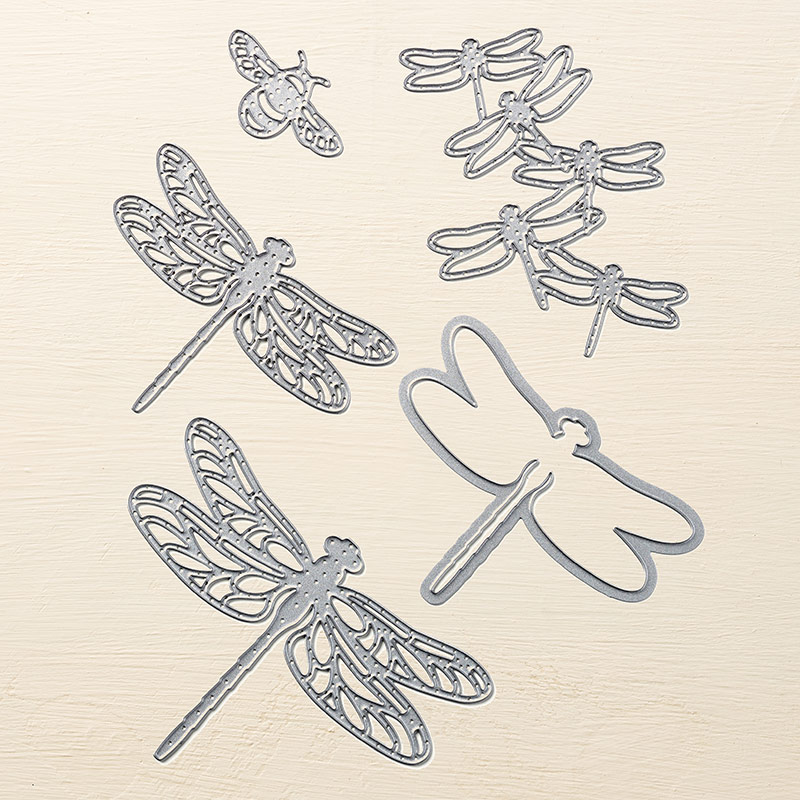
You may be interested in these: 


Wednesday, 17 August 2016

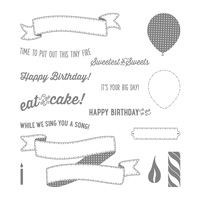
Time to Put out This Tiny Fire - Happy 1st Birthday!

It has been a month and a half since I last update my blog. How time flies!

In other words, I have been working for that long already.  And oh the work stress too.  It's all coming back.  And if it's not because I'm off today I don't think I'll ever have time to post this one either.

However, over the last few weeks I have  made some cards for different occasions.

And now, back to the happy hours.  I've got my coffee, and finished some of the emails from work, and here I'm posting this super easy birthday card.

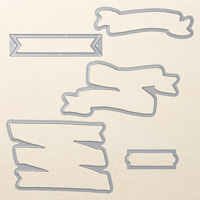
This card is super easy to make and definitely for beginners who do not have a big stash. Just pick any of the ink pad you have, preferably blue, to make a little baby boy's birthday candle, and yellow or orange for the flame.  Then stamp and die cut the banner, adhering it on top of the candle.

So simple and yet cute.  Basically I just pick a patterned paper with stars for the background, then stick the whole panel to a white card base.


What one does need, though, is the most versatile stamp and die set from Stampin' Up.  I've listed it below so you can have a look at the whole set for more details.


I use the following Stampin' Up materials for this project:


Saturday, 25 June 2016

Happy Birthday - Masculine Card for a Mate

Several days ago I made a card for Peter M, my husband's good mate and ex- coworker since decades ago, whose birthday is coming soon.   Peter (my husband)  told me that Peter M's having his birthday away with his siblings coming from NZ and Brisbane, so I guess I'll have to give the card to him after he comes back.

Peter and Peter are always goofy when they get together.  Although they haven't seen each other for many years with Peter being an expat all over the world, they still bound and remain good mates.
I've never seen my husband so chatty with another person other than me, so you can just imagine what sort of person Peter M is.  Besides being pleasant'y chatty too, he's always a joy to talk to, and is absolutely lovable.   When my Peter was looking for a new job after we moved back to Oz last year, Peter M had always tried to call and catch up with him at least once a week.  I could see that he tried to cheer my Peter up since job-seeking at this time of the economy was not entirely like a summer breeze.   He found a new job later in April so the stress was taken out a great deal.  Not a perfect job, but not bad either.

Now, there's something I haven't mentioned.  Peter M lost his partner early this year, and the terrible sickness had taken her away and along with his cheerful spirit too.  He couldn't eat or sleep well, he looked terrible at that time,  and had since lost a lot of weight.  We love Peter dearly, and therefore always invited him over for coffee or dinner quite often.  And I guess from January to April was the special time when both Peters needed a great deal of morale support from each other, and they gave each other that.  They talked about anything and everything, from the goals in life to that drilling tool on special at Aldi's.  They would go bike riding with other mates for a whole day and then had dinner altogether.   I'm happy to say that Peter M has at least cheered up quite a bit from then, and although not fully recovered from the loss, he has at least put himself together.

Peter M and I would go out too.  We have been to IKEA and Costco, and chatted along and laughed a lot.  We talked about life, work, and the future too.  To me he's a dear friend as well, and he demonstrates what friendship is all about.  He supports my husband spiritually whilst he himself needs it at the most difficult time of his life.  You can't ask more than that from a friend.

And here's Happy Birthday, Peter!


I use Hello Honey cardstock for the base, and Moonlight Designer Series Paper Pack.  I got the paper pack from clearance a couple of months ago and it's a steal.  Got lots of simple geomatric patterns, perfect for masculine styled cards.

The stamp set is from Sale-bration early this year.


PS: For men's birthday I never think it's a good idea to put bows or ribbons on.  It's just too feminine.  Unless he specifically likes those things.  To me a men's greeting card should always be simple and cool.  They don't want flowers or butterflies so don't put them on just because we like them.

I use the following Stampin' Up materials for this card:


Thursday, 18 September 2014

Birthday Butterfly Card Part Two

As most card makers do, I constantly get praises for making lovely cards, as well as comments that I should really start a card-selling business of my own.   For the past year I have been commissioned to make a few cards, but they were made unique and took too much time with design and execution.  And because I don't need to work or make income for my family, and therefore I find it's just not worth of my time.  I keep do it simply because I love making cards.

However, my daughter's new school term gives me a second thought.  The school's gonna hold a Christmas fayre, and one of the mum talked to me (she makes fashion accessories) and said we should rent a stall together.  Well now I thought I might be able to make it - if I can make enough crafts for sale in time.  

So below are the very first batch of several similar Birthday cards, followed by this particular Birthday card I made previously for Ashley's classmate.


Aren't they cute?  I'm happy with them too.  

Note that for the first time I've put on my first watermark in this picture for copyright concerns. All my works are original and please do not copy them.  


Next I should really start making Christmas cards.  Time to look for some inspirations and get started. 

Saturday, 6 September 2014

Birthday Butterflies Card for Little Girls

Ever since Ashley starts school there're so many parties and events to go. And although preparing gifts is always a bit of a headache I do enjoy making cute and fun cards suitable for the age.

For example, I saw an inspiration from Pinterest and found a lovely butterfly card with four different colours of butterflies, and decided to make one that's similar.

https://www.etsy.com/listing/96921989/birthday-card-happy-birthday-kids


And here's my take on the sketch.


I'm very happy with it and think I might produce more.  Lovely!


Monday, 28 April 2014

CAS-style Happy Birthday card - with Avery Elle Laurels Stamp Set

In the world of the flower-loving scrapbooking and cardmaking, I'm probably the odd one who doesn't like using flowers as embellishments - especially the frilly ones with glitters on them.  The less, the better.  Too many petals, too busy.  All in all not a fan of flowers in my projects.

But a while ago I've been seeing lots of fantastic CAS cards with the prettiest leaves and simple flower shapes and I hesitated.   And I got this stamp set from my great friend Renee - 


This brand is know for its quality stamps, and they have matching dies to offer as well.  Unfortunately I didn't get any dies so I have to hand-cut the shapes.  But nothing is too much of a hassle for card-making, and after 1 hour of inspiration seeking, stamping and cutting, I made this card.


I chose not to stack up the stamp colours as its original purposes, and just add liquid pearls on the flowers.  They look modern and simple.  Also love the vibrant colours it brings out. Highly recommended! 


Wednesday, 15 January 2014

Greeting cards made with only one 6" by 6" paper pad!

As the past few weeks being the busiest time of 2013, and the following relocating move to Dubai in early 2014 wasn't any easier.  Straight after Christmas in Oz, I had to put paper-crafting aside for two whole weeks and focused on the whole moving thing. But good news is, after all the chaos I've finally checked into a hotel on Orchard road last week and finally managed to produce some projects.


Because straight after the hotel stay(Peter has to fly to USA for meetings from Singapore and I'd rather wait for him and fly together to Dubai, rather than I go to Dubai first and wait for him there) I have to pack the luggage and fly to Dubai, I really don't have much space for my crafty stuff.  But the end result is still good.  This is all I have, and I'd recommend for anyone going on a trip to take these with you:

1. Scissors and glue (I got liquid glue, double-sided and foam tape)
2. One or two stamp sets and one or two 6 by 6 inch paper pads,
3. small Punches and maybe distressing tools
4. Embelishments such as several buttons, pearls and ribbons.

It is best to decide on the theme or style of the project you want to make first, and then pick the tools/materials that surround the theme of your choice.  Also don't stop if you don't have the tool you need.  For example, I didn't bring any distressing tool with me, which was a mistake. Luckily someone told me I could use the nail file provided by the hotel to do some distressing around, which I did for the card later on. It's such a great tip and it totally works!

First card

Second card


Third card


Fourth card (distressed with a nail file)


I didn't take a photo of my completed mini album because I was in a hurry to give it to a friend for her birthday.  Here are some basic pages but they're a bit plain before applying the ribbons and tags etc. They are also from a different 6 by 6 inch paper pad:


Friday, 13 December 2013

Birthday card for a dreamy little girl / princess

Although moving to different cities is something I'm accustomed to along these years, leaving Singapore gives me that extra sentimental feelings than other cities.  Being a safe place for Ashley to grow up in her most important earlier childhood, Singapore is also where she starts to learn and to make great friends. The little friends grow and play together, share toys and food(and germs), and help each other understand the world. I can't say enough how important they are to Ashley, perhaps more so than she realizes. 

Emelia is one of Ashley's best friends. She has similar temperament as Ashley does, and needless to say they click the moment they knew each each other.  When they get together, it is as if the world smiles, and there are daisies at their footsteps.  And Jean, E's mother, is one of the nicest people I've met in the world.  I am most fortunate to have befriended with Jean, and learnt a lot from her. 

Millie is having her birthday party in early January, and we are very lucky to be able to join right before we fly to Dubai. And therefore gives me a great chance to make a card for the little darling.

At this point of time leaving is definitely not easy, especially when we have to leave our great friends here.  We cherish every time we and the kids get together, and will remember the beautiful memories always.  

Tools:
1. Scalloped frames -  Spellbinders Nestabilities Dies
2. Princess - Silhouette Cameo. I use "Print and Cut" and it cuts around the edge perfectly. 
3. Stamps - Bobunny and Kaisercraft
4. Doily border - Martha Stewart Doily Punch


Love the little bee!


Monday, 9 December 2013

Pink birthday card for teenager

Since after I got back from Dubai I really haven't gotten much time sitting down put the cards I made online. The reality is, I've had about a dozen of farewell gatherings with friends in Singapore - the play date mums, different groups of friends, school mums, scrapbooking friends, etc.  Nonetheless, I feel thankful to have made so many great friends within such a short time in Singapore, and so my blog's pageviews which has dropped to average 1-2 per day is just miner issue.

Apparently during the holiday season, people still have birthdays (LOL).  So I've made some birthday cards in between the Christmas card making marathon.

Here's the one I made for my niece, who's turning 15 this December.  I use my favorite Swiss dot embossing folder and Spellbinders Nestabilities dies to accomplish the layers, plus Martha Stewart butterflies stamp to stamp the butterfly, Copic colour and trim it.


Thursday, 19 September 2013

Pink Happy Birthday card. Fit for a little princess.

I must admit I don't use my Silhouette Cameo(bought last June) often than I think.  It is a great tool, and especially with the Print-and-Cut and the Sketch function I simply must justify for its value this year.

Luckily with the encouragement from my friend Nathalie I started not only learning new techniques but also have picked up the machine again. The result came beautifully today I think I'm going use the tools a lot more.

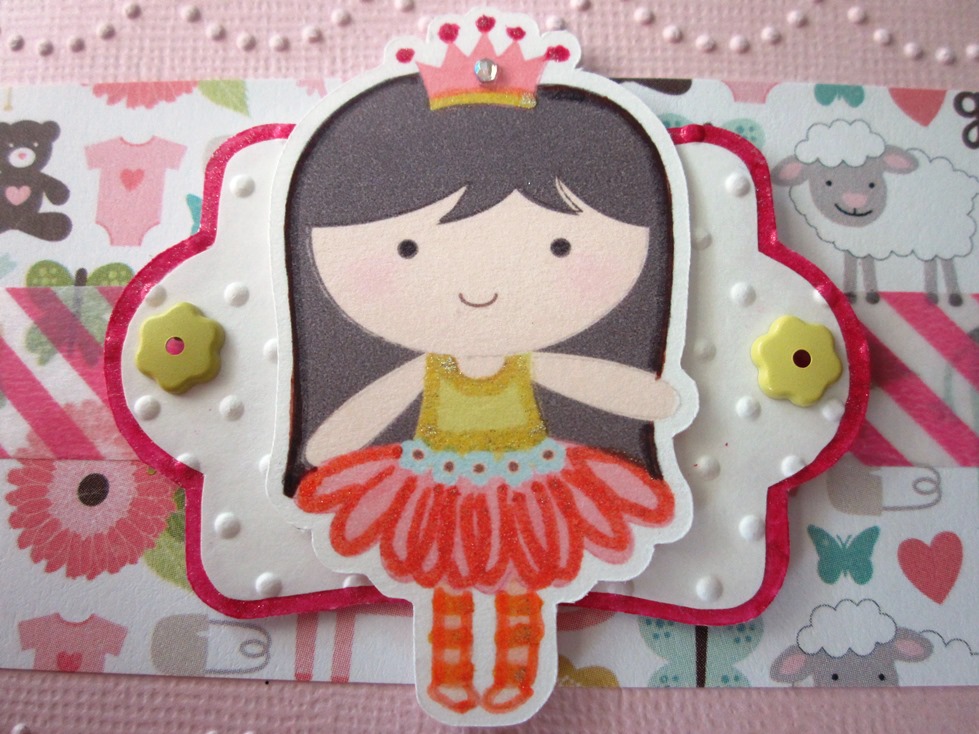
This card is for Ashley's school mate, Victoria. She's having her 4th birthday so I made it for her. As far as little girls are concerned, who doesn't like a fairy princess on a pink card?


1. Make pink card from card stock.
2. Do partial embossing with Cuttlebug embossing folder. Like this
3. Adhere a cute patterned panel on middle section of the card. Affix washi tape across center.
4. Use cutting machine to cut out two labels with the same shape. Colour the edge of the bigger piece, emboss the smaller piece, and adhere. Affix mini flower brads. Use foam tape to adhere label to card
5. Use cutting machine to cut a princess/fairy. Use glitter colour pens to emphasize hair, skirt and so on, and affix sparkle on crown. Adhere to card with foam tape on only head and feet.

6. Stamp Happy Birthday on paper and trim. Adhere to card. Finished. YAY!


Thursday, 29 August 2013

A masculine HAPPY BIRTHDAY card. Easy!

Here's another card I made on my paper-crafting Wednesday.  A manly Happy Birthday card.

Strange thing I find some of us scrappers like to put cute or feminine elements on the cards for men.  But really, doesn't matter how lovely we think they are, seriously, men DON"T like those cutesy things.  Nothing cute or feminine, please.  Men do not like to receive cards with polka dots, butterflies, flowers or buttons. If they like them, they're lying.


(Chervron is a bit borderline cute I recon.)


1. Make 5.5" by 5.5" dark espresso card from cardstocck
2. Cut six 1.5" by 1.5" squares (or use a square punch) from scrap paper, or white ones taped with washi tapes.
3. Find a middle point in upper area and line a square in the center first. Then align with two other squres. Same method to line the second row of squares.
4. position Happy Birthday alphabet stickers on card base.