Showing posts with label Valentine. Show all posts

Sunday, 4 January 2015

I Love, Love, Love You - Valentine's Card

Yet another card that didn't make it to the challenge.


I saw Paper Smooches had its challenge based on a sketch and thought I could practice with, and so made a card trying to beat the deadline.  Then one thing led to another I was busy cooking and forgot about uploading it.  Therefore I missed the deadline, again.

Still I am happy with the result.

Clean and simple.

I used Paper Smooches stitched dies eventually to meet the criteria too. 


Xx

Saturday, 3 January 2015

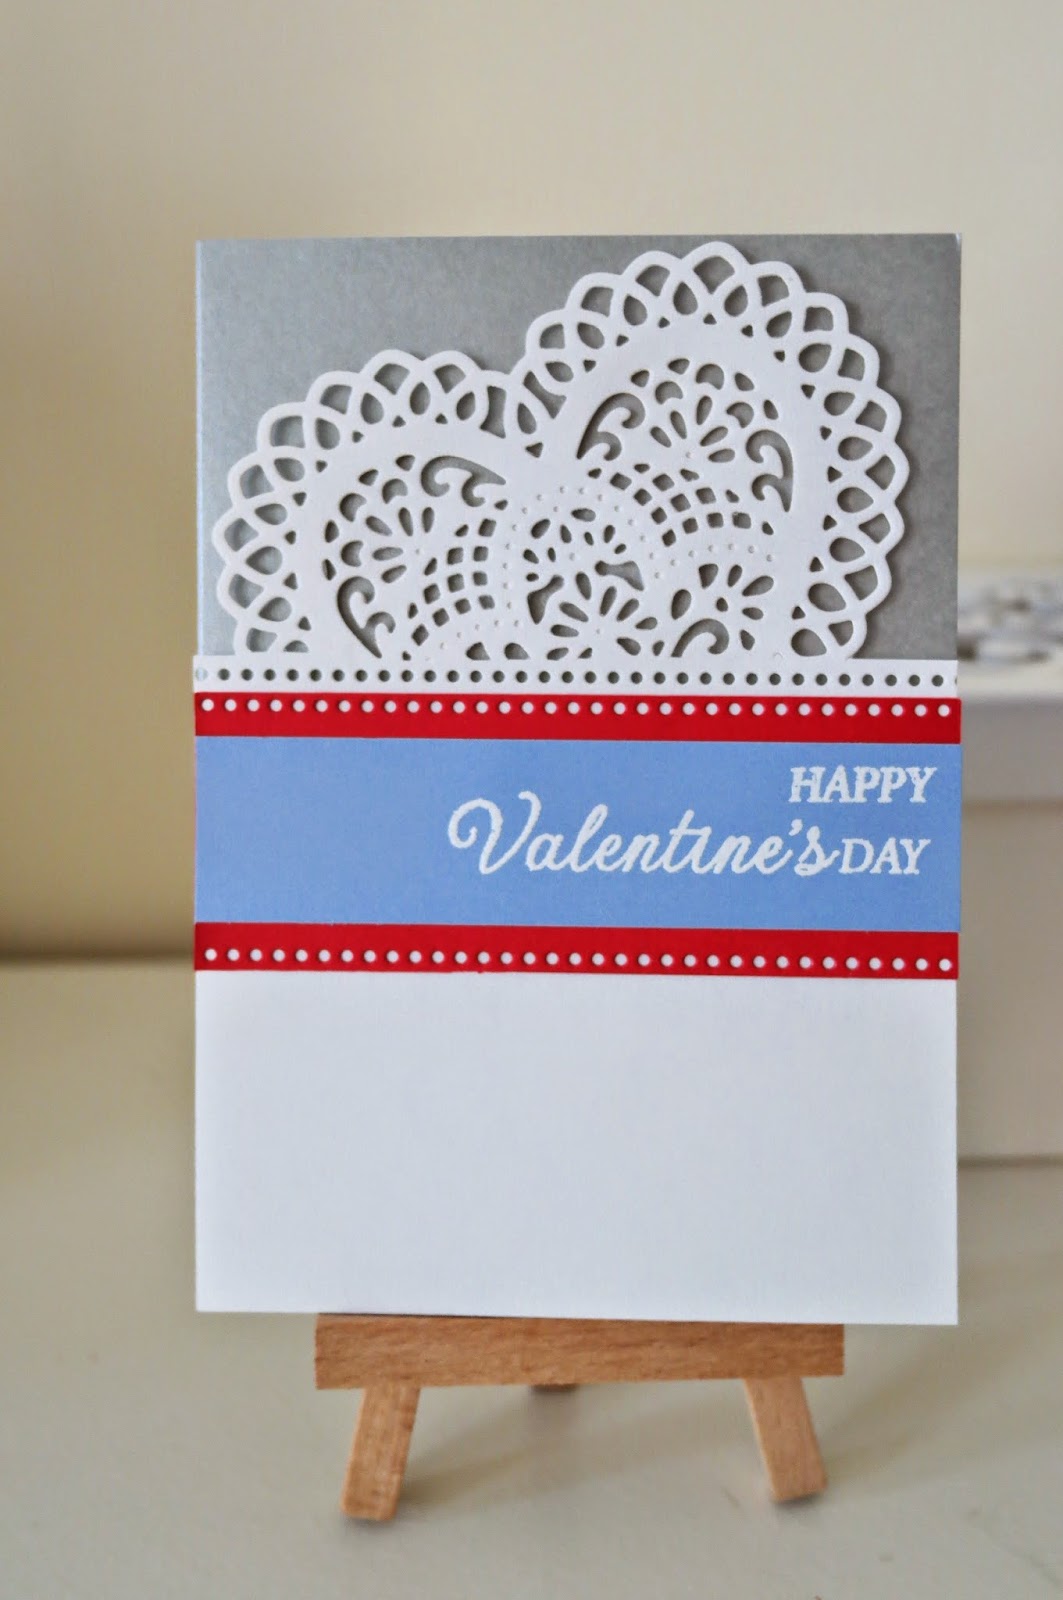
Happy Valentines Day Card

First of all, Happy 2015!

The Christmas holidays always ended too soon.  Overflowing with food, chocolate, drinks, the atmosphere and love from Adelaide, Australia, we carried our big bellies and warm hearts on the 13-hour haul of flight back to Dubai.  

Back home there is apparently many things in the list.  Mum's birthday card is the first in mind, and yet I just can't come up with a satisfying result.  So that's yet to be fulfilled and I have only a week to do so before mailing it out, which takes about 3-4 weeks to arrive in Adelaide.   

Meanwhile I have to relax.  I saw this Jennifer Mcquire's youtube on making the most of cutting dies and made a Happy Valentine's Card yesterday afternoon. Something done at least.  


I use Spellbindes heart dies as well as Paper Smooches stitches dies, as well as heat embossed sentiments to complete the card.  Since I still can't find an easier way to put the water mark on my photo I'll just skip it this time.    Xx


Thursday, 6 February 2014

Valentine's Day Card made with just ribbons and twines - No punch, no stamp, no tool needed. Super easy!

Remember back in my home I had tons of washi tapes and I made all kinds of cards such as this one?


Cards like this takes little time to finish, and usually with simple lines washi tapes make great CAS cards.  Therefore, when I saw CAS-ual Friday's challenge this time, I knew my one hundred and one washi tapes will make it work. 


And then what do you know?  I forgot to pack any washi tape with me for travel this time.

So I looked around and found some ribbons I got from the local scrapbooking shop right before leaving Singapore.  And so I made this card. :-)


What I did was to position the two ribbons and fixed with double-sided tapes.  Then I hand-cut the hearts and stacked them together with foam tape, tied a twine, (notice that I cut the bottom of the bigger heart so the twine stays in place) and adhered with foam tape on the card.

Style-wise, since this card is for my husband, I want it to look modern and masculine.  I picked a geometric patterned paper and then use one pink and one chevron heart.  I think that pink heart is all he can take LOL.


And a close-up look at it you'll see the laminated crowns on the pink heart.  Cute!  :-D


So you see, no punch, no stamp, no tool. With just scissors it's surprisingly easy.  Happy card-making! (when you travel light :-D )


Tuesday, 17 September 2013

Love card - Partially embossing technique

Last night as usual I was just watching youtube to see if there's anything new inspirations, and I came across this video that I decide to try today.  It's called 'Partial Embossing' technique, and after a few practices I found I needed some adjustments with the thickness needed to go through Cuttlebug.  I guess every Cuttlebug has it's own personality and tolerance of abuse. (HA)  But once you got the right thickness you'll know it's so easy!


1. Make white card from card stock.
2. Emboss card with the technique mentioned (see video below)
3. Stamp sentiment in the blank circle area.
4. Punch a small hole on side of card and tie with baker's twine.


You can check this video to learn how it works, and then just follow the basic principle to make your own design.  I tried the partial embossing technique( the first part of embossing in video) with my Cuttlebug and it didn't work, so I added another blank card(thickness of two pieces of paper) and it worked beautifully. 

Double embossing with Cuttlebug and nestabilities