But before the makeover, it looked like this...
So, what you need is
1. a dirty old carton box that you are ready to throw away but still pondering if you should
2. two pcs of scrapbooking paper
3. Sticky tape/Scotch tape, or double-sided tape
4. craft glue (I use Martha Stewart crafting glue)
5. scissors
And you can make it within 30 minutes! What transformation, and my kid loves the 'new' box!
And here is the process -
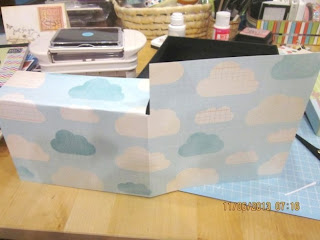
1. Get the materials ready. Because the lid is 6*6", you want to cut up a square paper up to 8*8 so it extends over the inside of the lid. Place the paper on top of the lid and get the paper glued on top of the lid first, then turn the lid over upside down, and then continue to glue the whole paper over the inside as well. In the end, secure the paper with a regular sticky tape.(scotch tape)
As you fold the paper over the inside of the lid, trim excess paper to line it neatly on it. You can either use a regular sticky tape or a double-sided tape to securely fasten the the edge of the paper onto the lid.
And here's the lid, done!
Then for the box, get another piece of scrapbooking paper and cut to ideal size. As with the lid, you want to extend the length over the inside of the box to appropriate length as well. In this case I cut it about 1-2 inches longer than the size of the box. (Don't worry about the bottom because no one will see it. :-P
Same steps as with the lid, make sure the paper is attached smoothly onto the box. If you don't think the regular sticky tape is sticky enough, use double-sided tape to securely fasten it.
And the box is done! It's brand new now haha!
Lastly, if you have any extra cute ribbon, line them along the side of the lid around. I used double-sided tape to stick the ribbon on it.
And so this is the finished product, so neat and clean!


.JPG)


No comments:
Post a Comment
I would love to hear your say about my post. Leave a message! Thanks