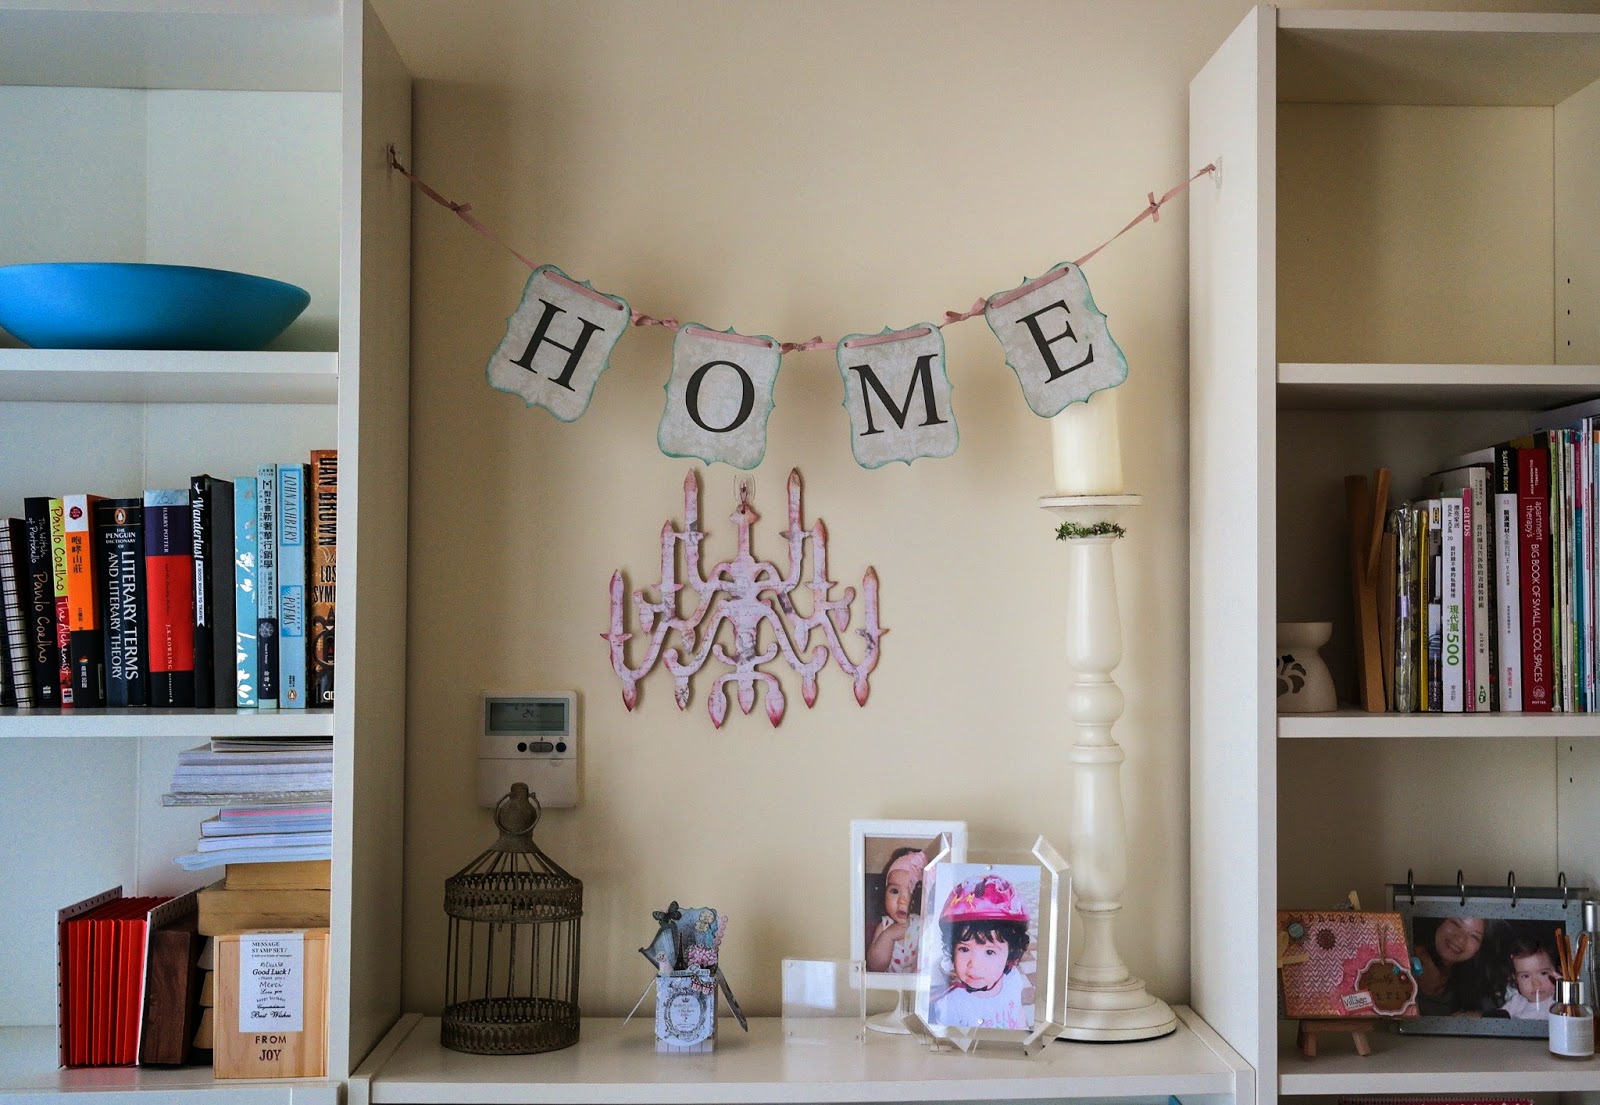
Having finally finishd the birthday card for my husband, (and it wasn't a good one.) I was only starting to work on a blank binder album that was left along in my storage trolley for quite some time. And last week, I saw a super cute mini album on Pinterest. So I changed my mind again to make the mini album and ditch the binder aside in the corner of my craft table. And then half way on my making of this mini album, again I spotted on Pinterest a gorgeous distressed banner that looked both phenomenal and easy to make, so I decided to make a similar one following the inspiration. Somehow I managed to finish it in just one afternoon. At least one thing is done.
This tells us two things.
1. Only if you really know what you want to make, and really stick to it can you finish the project., and
2. Pinterest is evil.
Ok, now here's the end product. Nice, isn't it?
So here are the steps. And for a 'slow-hand' like me, I literally finished the whole thing within like 2 hours, which is just unseen before.
1. Use your cutting machine (Silhouette or Expression, anything that can cut labels) to cut out four flourished labels on a 30cm by 30cm patterned paper, like this.
4. Stick the patterned paper to the chipboard with glue. (don't worry if the paper is slightly bigger than the chip board. No one can see it from the front.
5. Now the fun part! Get your distressed inks and applicator out, and distress the edges of the patterned side of the chipboard. I mix the two colours first on the mat with the applicator, test it on other paper, and then gently brush the edge of the chip boards.
6. Next is the letters. I use my Silhouette Cameo machine to cut out H, O, M, E on a grey cardstock. The font I use is Times New Roman. Then distress the edges of the letters with a slightly heavier colour than the cardstock. I use Vingate Photo.
7. Stick the letters to the chip boards, and then punch two holes on top corners on them. Then use ribbons to make them into a banner! Jobs done!
PS: To make sure the chip boards don't slide on the ribbons I also use hot glue gun to fix them on the preferred spots. I also tie knots on the hooks on both ends of the ribbons. Very happy with the result!


No comments:
Post a Comment
I would love to hear your say about my post. Leave a message! Thanks